How to photograph Iceland's northern lights on a tour
A Reykjavík aurora tour gives you a few dark stops and not much time to fiddle with menus. This guide covers what a phone can do, the camera settings to start from, and what the guides on our three tours photograph for you. It ends with the small things that spoil a night shot, from cold batteries to a stray torch beam.
A phone or a camera on a tripod
You do not need a big camera to bring home an aurora picture from Reykjavík. Recent phones have a night mode that holds the shutter open for several seconds and can show green where your eyes see only grey.
A phone has limits on a faint night. The image turns grainy and the stars smear if you hold it by hand, so prop it on a rock or a small phone tripod.
A camera with manual controls on a tripod still gives the cleanest results. It lets you choose the exposure yourself, and a wide lens fits the sky and the landscape below it into one frame.
Settings to start from
These values suit a typical night outside the city. Treat them as a first test shot, not a recipe.
- A wide lens, around 14–24 mm on a full-frame camera
- Manual focus at infinity, tested on a bright star with the screen zoomed in
- ISO 1600–3200
- Exposures of 2–10 seconds
- The widest aperture your lens offers
- Raw files if your camera records them
Take one frame and check the screen before you change anything, then adjust one setting at a time. A bright curtain that ripples fast needs the short end of the range, while a slow, pale arc can take the full ten seconds.
Turn off the flash and dim the camera screen to its lowest level. A bright screen ruins your night vision and lights up the people standing beside you.
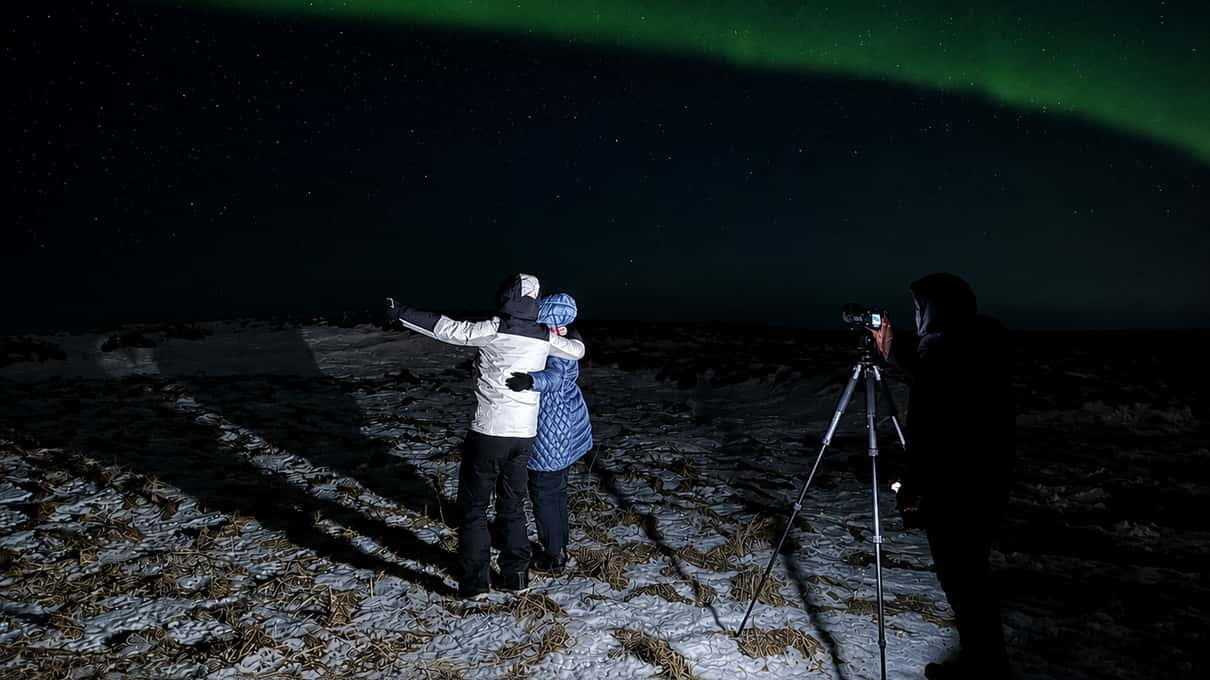
What the guides do with their cameras
All three tours on our list include photos taken by the guide, so you can watch the sky and still come home with a picture. The listings do not say how the files reach you, so ask on the night.
Aurora Viking, from ~$165, brings a guide and a photographer, with high-spec cameras that make night photos you can print. The owners, Kolbeinn and Emil, are the main guides and say they have decades of experience.
The same tour hands out Viking costumes and weapon replicas from a local museum for portraits while you wait. The listing jokes that some of those pictures come out badly, which is part of the fun.
Nordur Travel's guide takes photos of you under the lights, and Arctic Adventures, from ~$200, includes a complimentary photo of you with the aurora. In both cases the guide handles the settings, and you only need to stand still.
A photographer on board as well as a guide
Aurora Viking takes up to 18 guests with a guide and a photographer, and the Viking costumes add a portrait you will not get on other tours. Viator rates it 4.9 from 590+ reviews.
Foregrounds near Reykjavík
A picture of the sky alone soon looks like every other aurora shot. A shape in the foreground gives it a place, and the country around Reykjavík offers plenty of them.
Moss-covered lava fields make rough, dark textures under a green sky. Mountain ridges give you a skyline. A still lake or a stretch of coast can hold a reflection when the wind drops.
You do not choose the stop, since the driver follows the cloud. Our guide to where the tours head describes the usual directions, so you can picture the scenery before you go.
People make good foregrounds as well. Ask your partner to stand completely still for the whole exposure, and let the glow of the aurora light them rather than a torch.
Cold batteries and fogged lenses
Batteries drain fast in the cold, and a fully charged one can die halfway through a stop. Carry a spare in an inner pocket close to your body, and swap it when the first one slows down.
Condensation is the other trap. When you climb back into the warm minibus, a cold lens fogs over, so keep the camera in a closed bag until it warms up.
Gloves make buttons hard to press. A thin pair under thick mittens lets you change settings without baring your fingers, and our clothing guide covers the rest of the kit.
Light manners at a dark stop
A dark stop full of photographers works only if nobody switches on a white light. A red headlamp lets you find your bag and your tripod legs without blinding anyone.
Never point a torch or a bright phone screen toward other people's cameras. One beam across the field can spoil a ten-second exposure for everyone on the bus.
Set your tripod up away from the path the group walks along, and keep its legs tight. A smaller group leaves more room to spread out, as our group size guide explains.
When the sky will not cooperate
A camera cannot photograph an aurora that is not there. The lights are never guaranteed, and on a cloudy night even the best settings show only grey.
If the first night fails, the retry rules on all three tours give you another go. Our retry guide compares them, and the guide to the months explains how the moon affects faint lights.
Practice the settings on a dark street before the tour. Ten minutes outside teaches you more than an hour of reading, and on the night itself you can look up instead of at the menu.